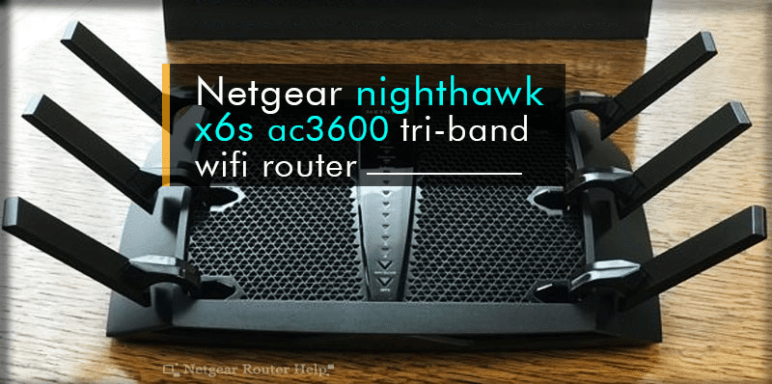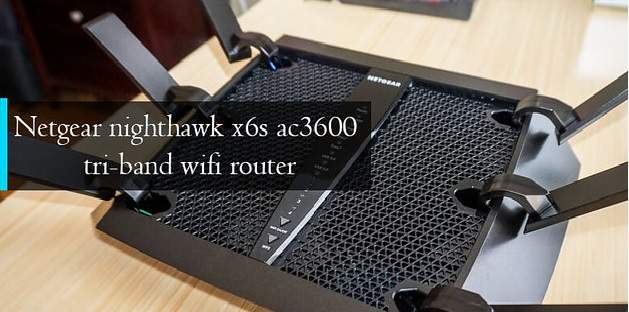
Things to know about Netgear Nighthawk X6S AC3600 Tri-Band Wi-Fi Router
Netgear Nighthawk X6S AC3600 Wi-Fi Router comes with Tri-Band technology. Nighthawk router has an inbuilt amplifier, which means you will not lose network signals easily. In addition, it has a power antenna which is used to extend the wireless coverage area. Also, a 1.8 GHz dual-core processor provides you the network signals and a high Wi-Fi speed.
Nighthawk also comes with a smart connect feature so that you can connect all your devices to the router network easily. It provides an optimal network speed to all the connected devices. So, you don’t have to go through buffering to watch your favorite stream. As Netgear Nighthawk X6S AC3600 Tri-Band Wi-Fi Router works on MU-MIMO principles, you can simultaneously connect multiple devices to the router network. You don’t have to worry about the dead corner in your home because its antennas can cover a wide area. Thus, all you have to do is finding the right elevated place to install your Netgear Nighthawk router.
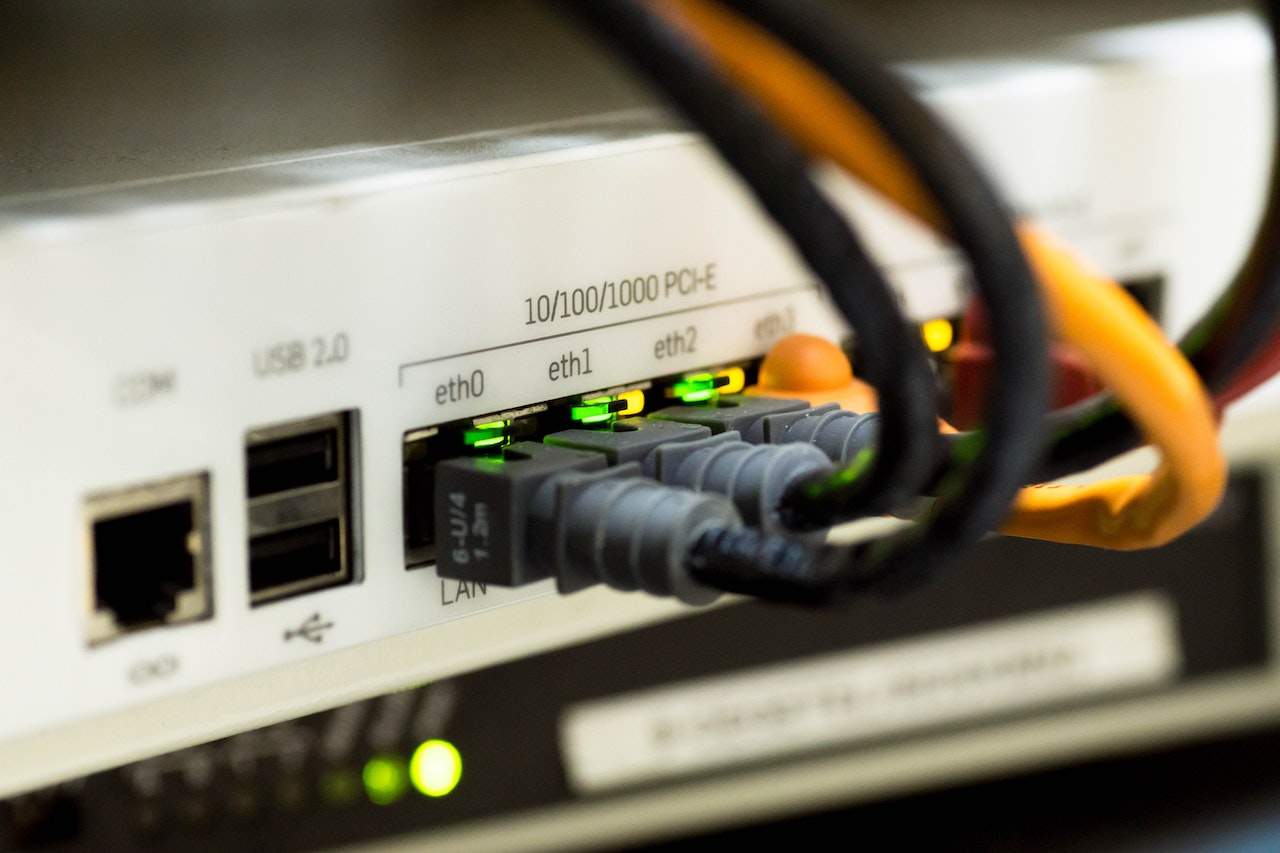
Also, it comes with four Gigabit Ethernet RJ-45 LAN ports so that you can create a wired network with your router and devices. But you can only use ports 1 and 2 to create an ethernet network.
So let’s get started with the installation process of the router-
Cable your router to the modem-
- Firstly connect your Nighthawk router to the modem. Use the black cable that comes with the router setup.
- Then, connect a power adapter to the router and then plug the power adapter into a wall jack.
- Next, you can press the power ON button on the back panel of the router.
Connect your device to the router network-
You can choose to connect your device to the router’s network with a wired or wireless cable. But make sure that you have not assigned your device to a static IP, so that router could assign its IP to your device.
Wired connection –
- First, ensure that your router is receiving power.
- Then, plug an ethernet cable into the ethernet port of your device and then to the ethernet port of the router.
Wifi connection-
- Firstly, open the Wi-Fi manager on your device.
- Secondly, find the router network name. You can check the label on the router for its network name.
- Then, join the Wi-Fi network and enter the password. You can find the default password also on the router label.
Create a Wi-Fi connection using WPS-
- You can also choose this method to establish a secure internet connection between the router and the device.
- First, you have to make sure your device is a WPS-enabled device.
- Then, press the WPS button on the router.
- Next, press the WPS button on your WPS-enabled device to connect to the router.
- Then find the router network on that device and enter your router password to join the Wi-Fi network. You can check for the router network name and password on the router label.
Login to the router-
After connecting your device to the router network next, login to the router for further configurations.
You can log in to your router network by using any one of these three methods.
- ISP login
- Wi-Fi network key or password
- Web Interface Router Login
ISP login to router-
In this case, your ISP provider gives you the login credentials. Either they gave pre-customized login details or default login details for the router.
Wi-Fi network key or password-
Your router already has a unique SSID and password, so if you want to log in with the Wi-Fi network key, you can check your router label in the router’s back panel.
Web Interface Router Login-
In this method, you use a web browser to log in to your router. Then, you go to a web portal for the router login, either using the direct web URL or the IP address.
In this guide, we are going to follow this same method.
Log In to the Router-
- First, launch a web browser on your mobile or desktop device that is connected to your router network.
- Second, enter http://www.routerlogin.com or http://192.168.1.1 IP address in the search bar to go to the router web interface.
- Next, the login window opens.
- Then, enter your username and password. You can enter your default login details when login for the first time.
- But if you have changed your login details, you can use the specified details. Also, note that login details are case-sensitive.
- Finally, the Home Page for the router interface displays to confirm the successful login.
Nighthawk App-
You can install and manage your router with the Nighthawk app. The app automatically updates the router firmware to the latest firmware. With the app, you can also personalize your Wi-Fi network and register your router with Netgear. The Nighthawk app is available for Android and iOS mobile devices.
Installing the app-
- First, download the app on your device.
- For this, you can visit Nighthawkapp.com or download the app from an app store.
- Then connect your device to the router network.
- Launch the Nighthawk app and then follow the instructions given in the app to install your router.
Features of Netgear Nighthawk X6S AC3600 Tri-Band Wi-Fi Router-
- You can use the Dynamic QoS to control the data traffic over the router network. With this, you can optimize the performance of your router.
- The router lets you choose to Enable or Disable the Dynamic QoS database. Also, you can choose to update the Dynamic QoS database manually.
- You can improve the Network connections with Universal Plug and play system. To access this feature, enable the UPnP on the router. This feature lets you connect your router to any device, such as a media player, desktop, or mobile device.
- The router also offers the WMM QoS feature. Wi-Fi Multimedia Quality of Service (WMM QoS) prioritizes Wi-Fi voice and video traffic over the Wi-Fi link. This network feature is suitable for gaming and video confessing. The feature is enabled by default on the router.
- The router automatically updates its firmware with time. So you don’t have to pay extra attention to the task.


